This is only a two beer job although it is fiddly and time consuming it is not difficult.
Maybe is should be a five beer just for that.
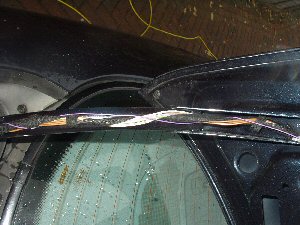
First job is to get the boot lid liner out. The Driver's handbook says that if a reversing bulb
fails you should take the car to a dealer to have it replaced. Oh yeah, at Ł125 an hour ???
Prise out all the poppers - there are lots of them. There is no need to remove the two rubber
bumpers or the boot lock. If the liner is stuck under the boot lock you will need to loosen it
to get the liner out.
Click on any image to see a bigger version.
|
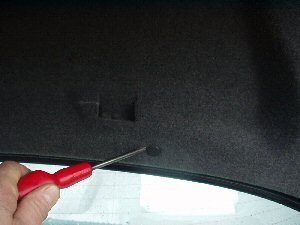
Prise out all the poppers
|
Don't forget the two at the sides (ie one each side).
|
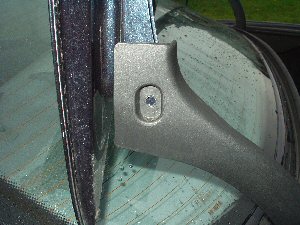
To remove the warning triangle clip, lever up the bit in the middle and slide the whole clip to the left.
|
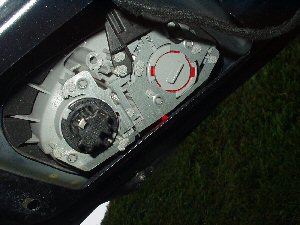
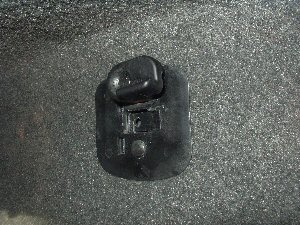
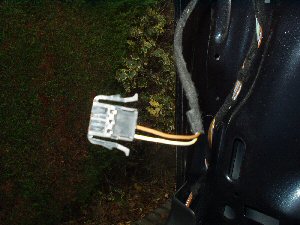
This is a reversing light, there is one just like it on the other side.
To release the connetor just press gently on the two tabs at the top of the connector
and it will unplug.
|
DO NOT USE SCOTCHBLOCKS - they are the work of Satan. These connectors damage the wire
they are clamped to, let in damp and cause corrosion. DON'T.
|
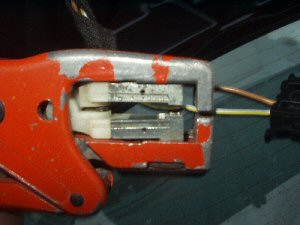
The best way is to either cut back a tiny piece of insulation with a craft knife, or
to use a tool like this which will strip the wire without breaking it.
|
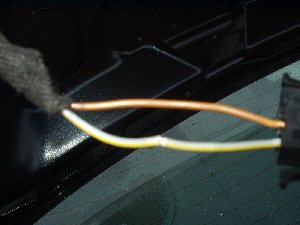
Here you can see how the wire is just exposed. A stripped wire can be wrapped tightly
around this now. On Mercedes the ground wires are BROWN so you will need to connect your
ground wire to the BROWN and you live wire as shown - this is for the standard aftermarket
systems that get powered this way. My version does not - it just senses the light.
|
Finally, solder the joint. There is no choice but to wrap it up with some good
insulation tape - but it will be a good connection and well protected too. You can buy
a wire-stripper like the one shown from RadioSpares or Farnell. I have had mine for around
twenty years, and they still make them.
|
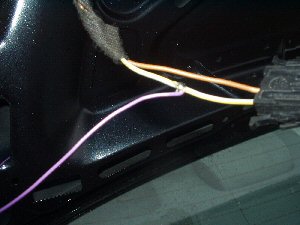
Take great care how you route the wires because one of them will carry 12 volts
when you reverse and you don't want a short on it. The clips over the boot lid hinges
unclip very easily.
|
Okay. After putting everything back in the boot it is time to work on the inside. I routed my wires to the boot
while I was working there because there was an old CD changer cable I wanted to get out. A piece of that white
springy stuff that Ladies use to hang net curtains is brilliant for feeding wires - tape one end to it and
push it through. You only need this bit if you are fitting your display in the same place as me.
|
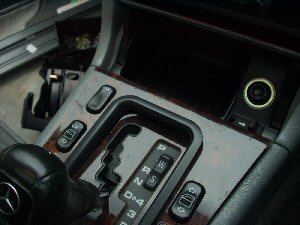
Take out the ash tray. Gently pull the front of the wooden panel around the gear stick up
no more than say a quarter of an inch (or 5mm if you are French, in which case you should have a
Citroen and not be here, bon chance )
|
Now you can remove the inner black plastic trim, then the wooden panel.
|
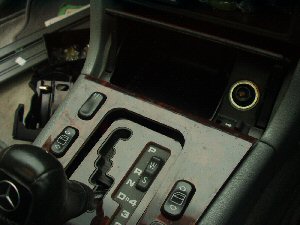
Move the wooden panel to one side and remove the two screws. You can then lift out the receptacle
part of the ashtray. You will have to unplug the bulb holder from the cigarette lighter. When you put it back,
try it before you reassemble because I had a problem a while ago with a bad connection in the bulb holder.
|
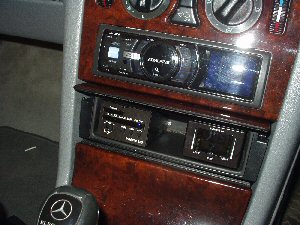
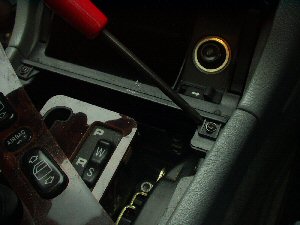
You will have to fit your display where you like, and somehow hide the cable. If you do it my way.
then you will need to remove the tray thingy under the radio. To do this reach under and feel for a clip
at the very top, in the middle. Do not press the large clips you find on the ends. When you press the right
one, the tray just slides out.
|
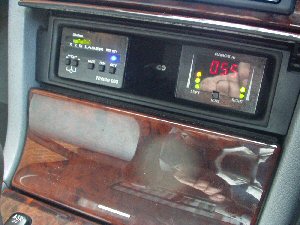
There you go, look,it works. You might think it looks rubbish - in fact it looks much
better in real life than in the photos. Anyway, I like it this way and I have bar graphs too.
I changed the sound so that I get beeps that speed up the closer you get to the object.
|
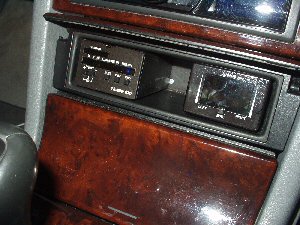
Ah, you may ask. What is that other thing that is cunningly styled the same as the reversing display ?
That is my latest (and final) remote control for my covert GATSO detector. Do they really work ?
Yes, they really do. The stuff you read about then being useless is propaganda. Evening all, mind how you go.
|
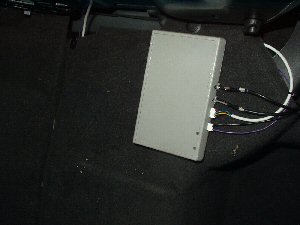
This is my reversing system. I used Velcro to fix it.
There are two leds. One led indicates that it is working okay,
another flashes only when it is sending information
back to the display. This is handy because I can check stuff out in the boot.
|
|
Well that's it. I hope this has helped and entertained. I feel I have put a bit back for the pounds and pounds
that the MB Club website has saved me - window regulators, duo-valve, blower regulator. Last week I kept getting
ASR/ABS fail on the dash. My friendly Merc specialist pulled off a connector near the reservoir, cleaned it,
and put it back on. Fixed. He said it was a common problem.
|